Skip to content
STACKCOOLER.com

Loading 3D model…

Stackcooler TP2: Enclosure for NVIDIA DGX Sparks

$389.00

Free US shipping · Tax included

I couldn't find a good way to stack and show off my Sparks. Nobody was building anything that looked cool to me, so I stopped waiting and made Stackcooler. I've seen some of you maniacs jam them into any available space. Hardware this beautiful (and expensive) deserves better.

Designed, made, and assembled in the USA from US and imported components.

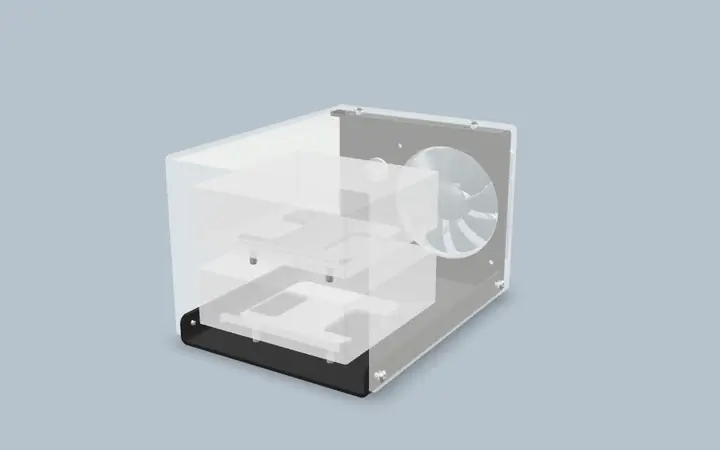
What's included: the Stackcooler enclosure (aluminum base and clear cover), the lower and upper H-bracket spacers, mounting hardware, and a Noctua NF-P12 redux-1700 PWM 120mm fan + 12V wall power adapter (or choose no adapter and save $7, or no fan and save $14).

Not included: DGX Sparks.

Fan
12V wall power adapter for the fan
Add to cart

Free standard shipping within the US. US addresses only.

Shipping · Returns · Warranty

Patent Pending

Setup steps

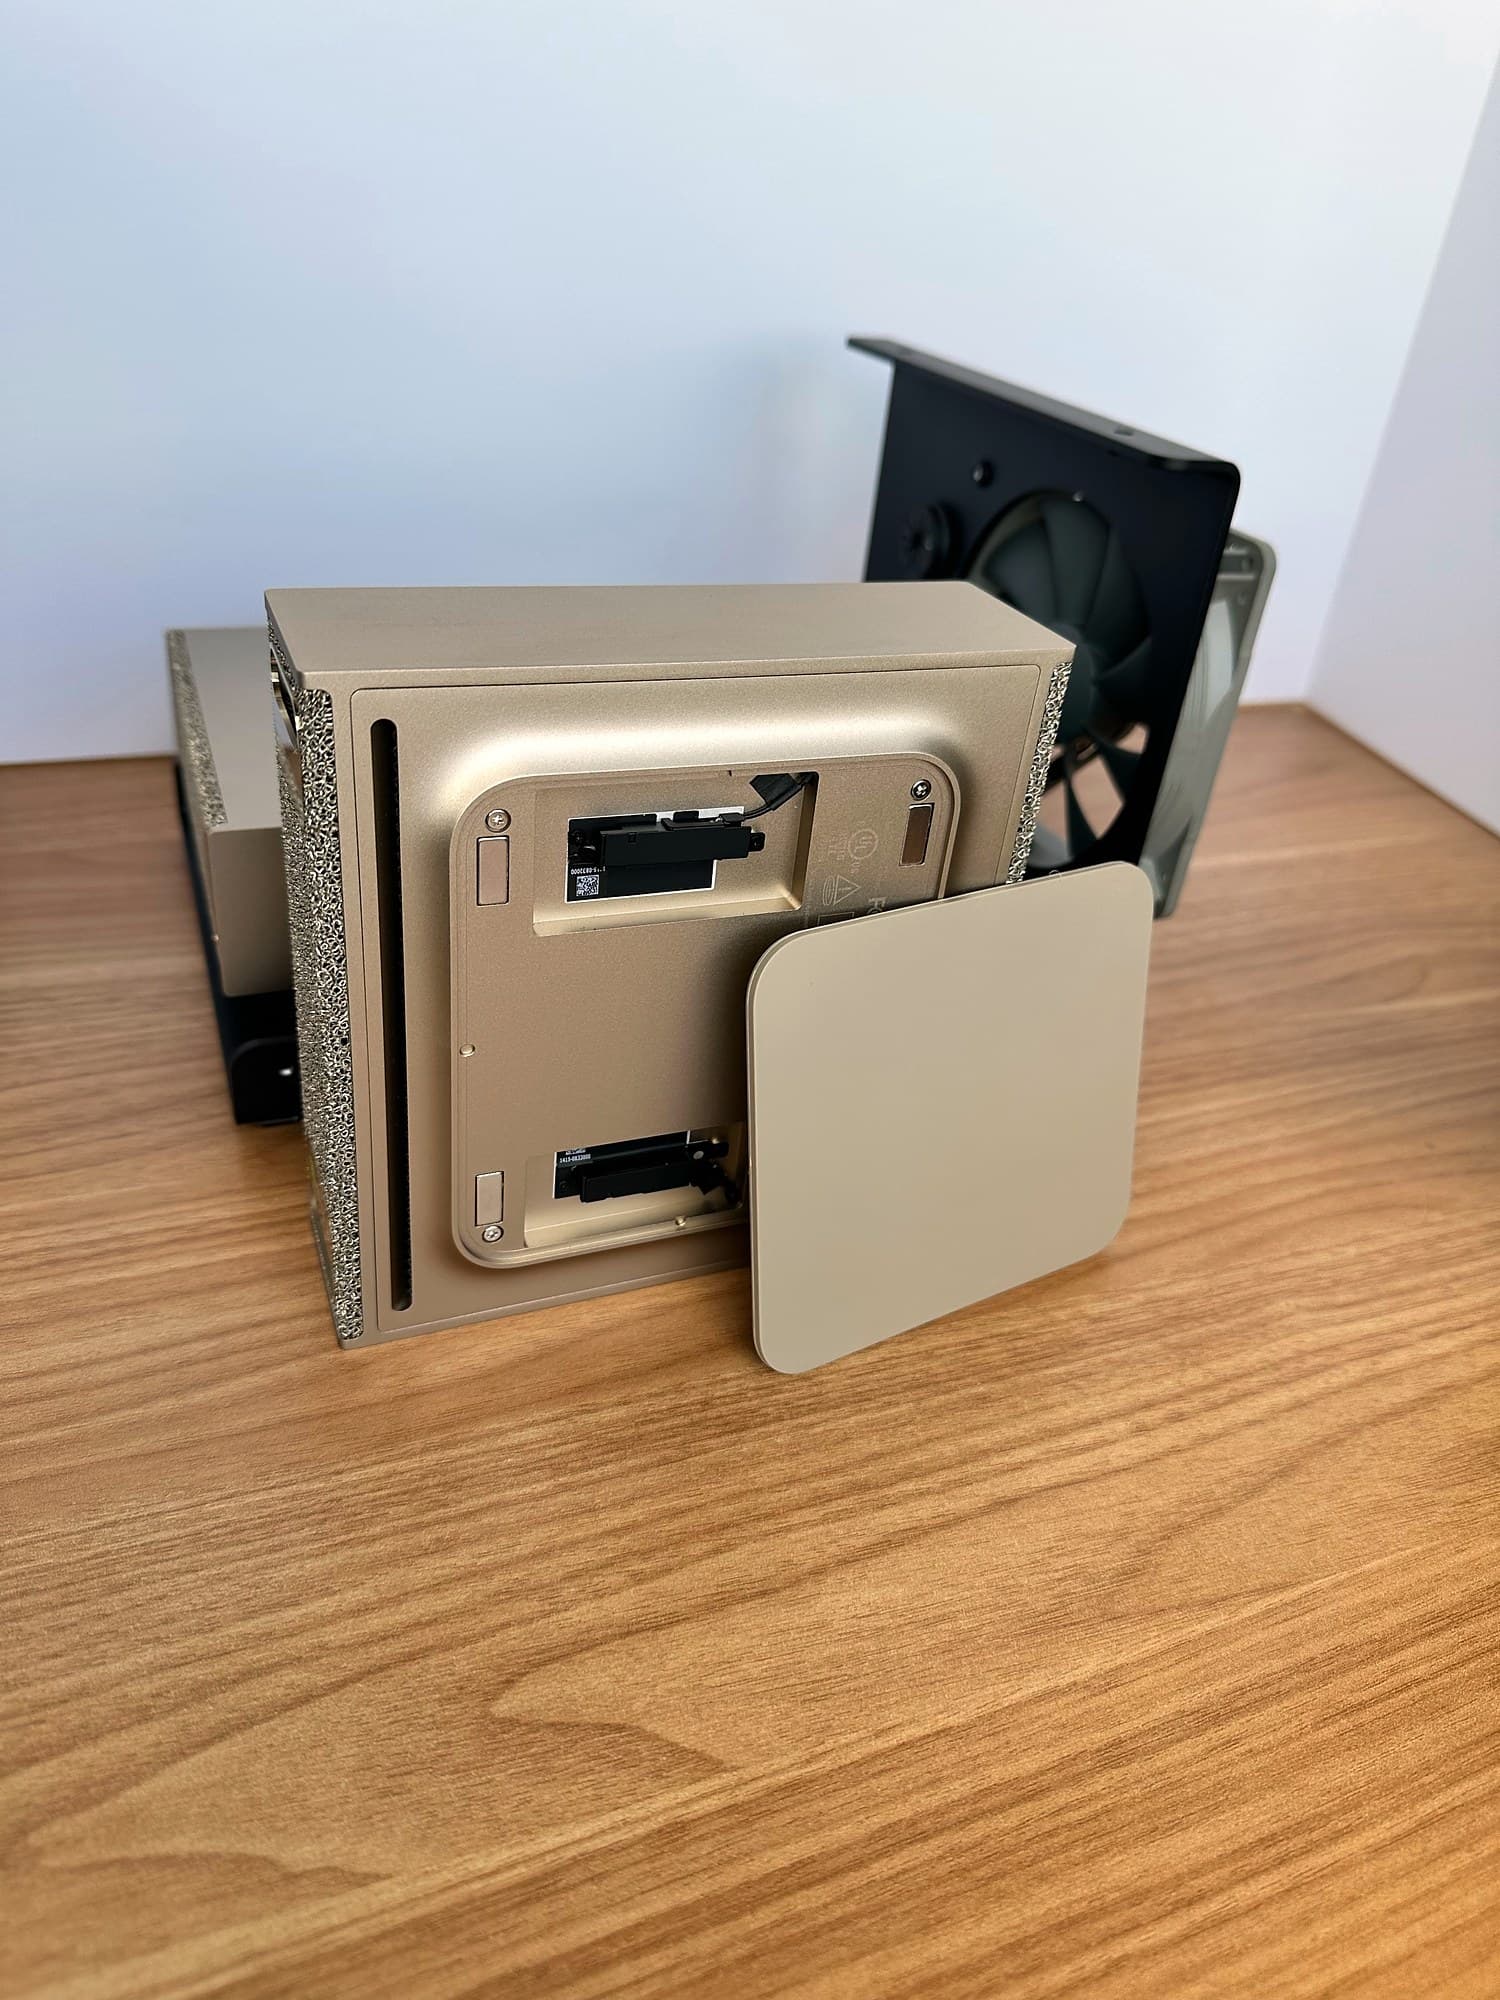
  1. NVIDIA DGX Spark standing on its side with its gold magnetic bottom pad removed and leaning against it, on a wood desk.

    1.Remove the bottom padIt's held on magnetically — pop it off with a fingernail.
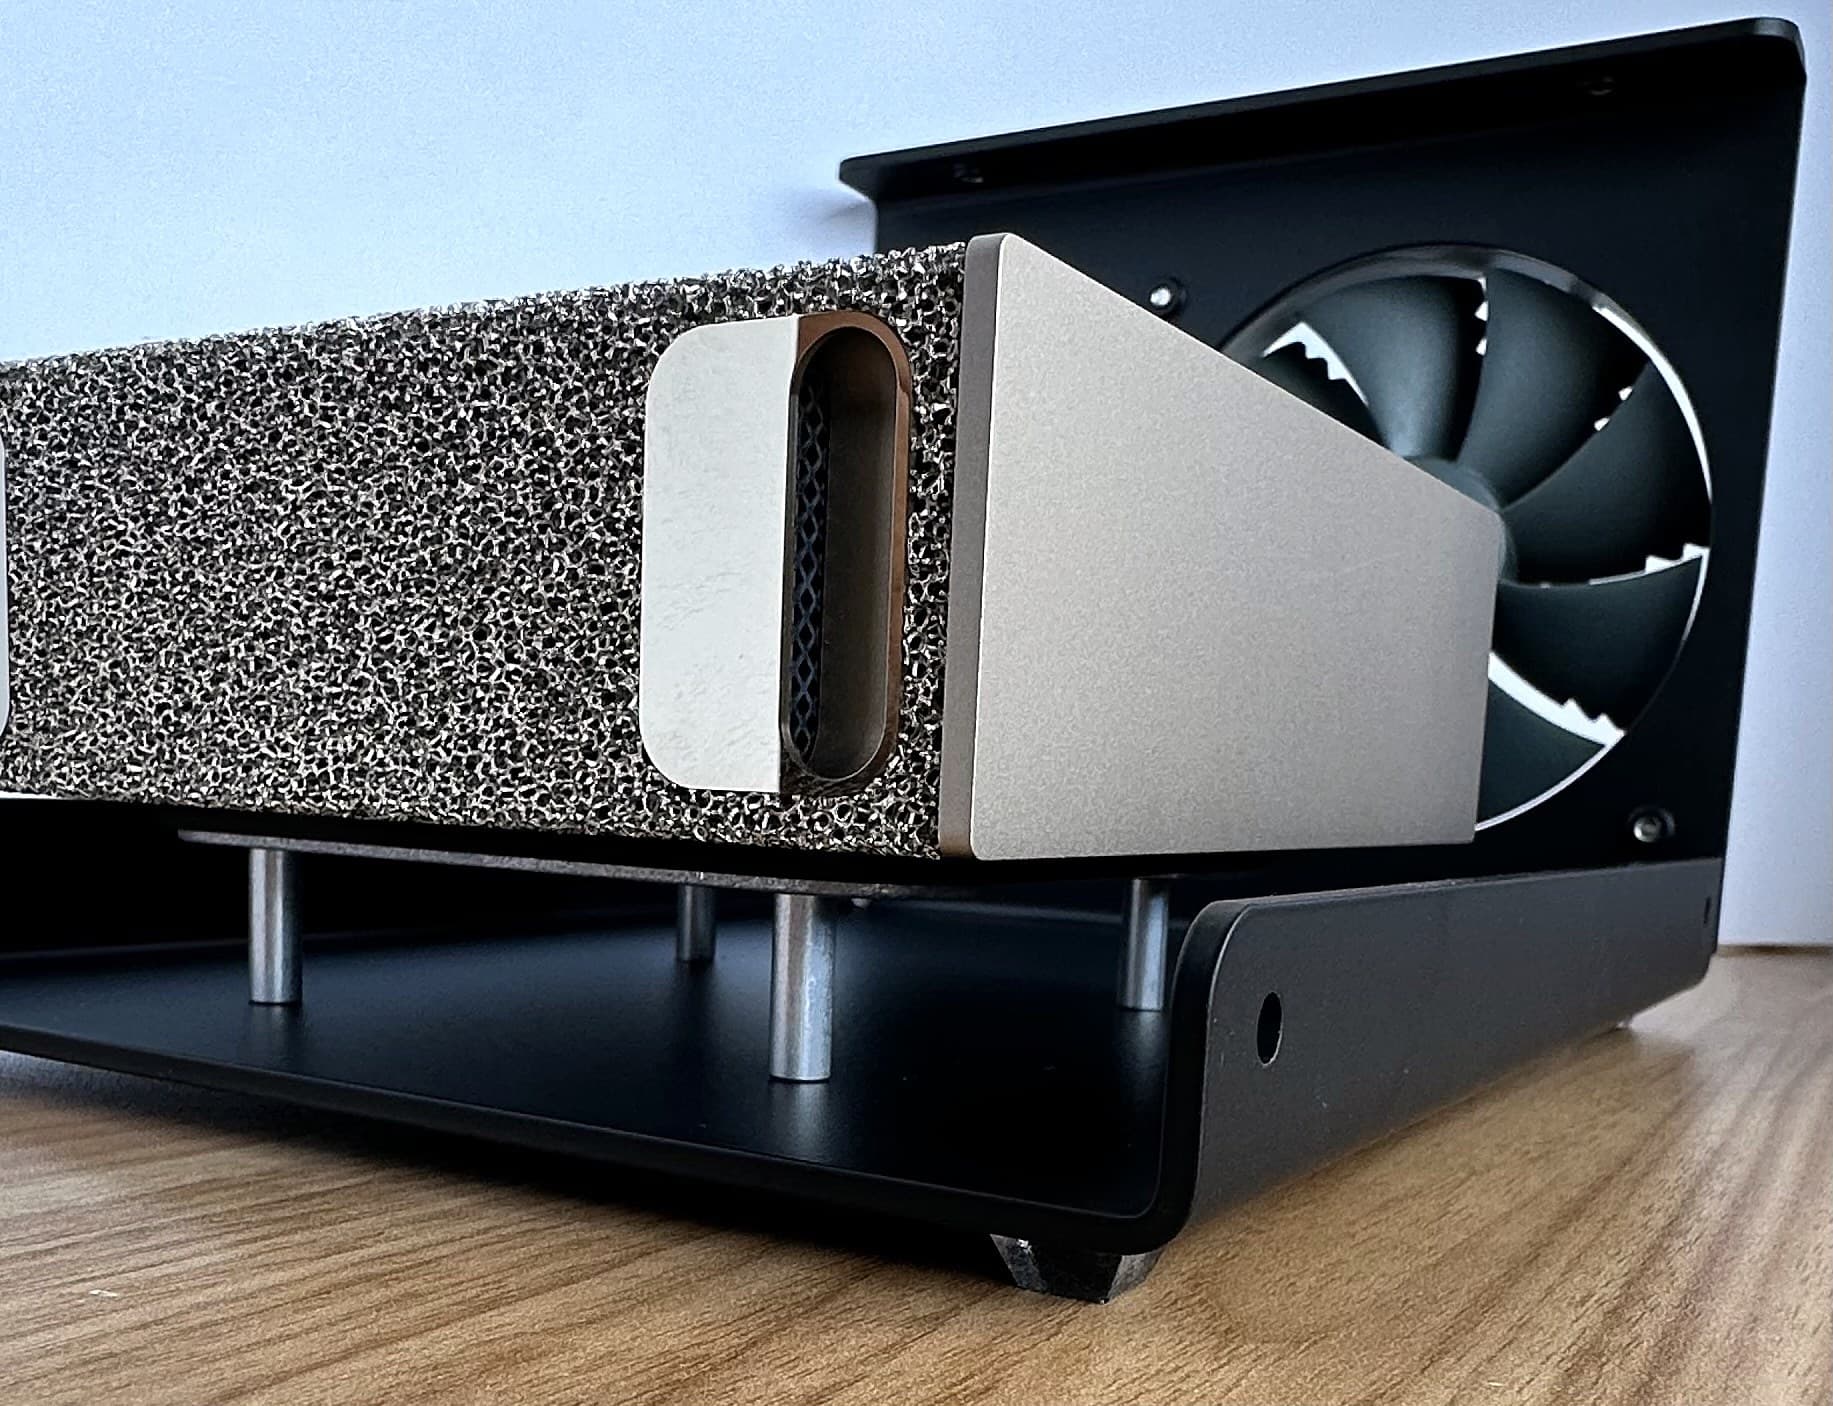
  2. Low-angle view of the bottom DGX Spark resting on the H-bracket standoffs inside the black Stackcooler base, with the rear fan behind it, on a wood desk.

    2.Place the bottom Spark onto the H-bracketThe aluminum H-bracket for the bottom Spark is mounted to the base of the Stackcooler. This allows your stack to remain centered in the opening to ensure proper airflow and cable routing. No modifications to your Spark as we purposely located the standoff studs precisely over the Spark's magnets.
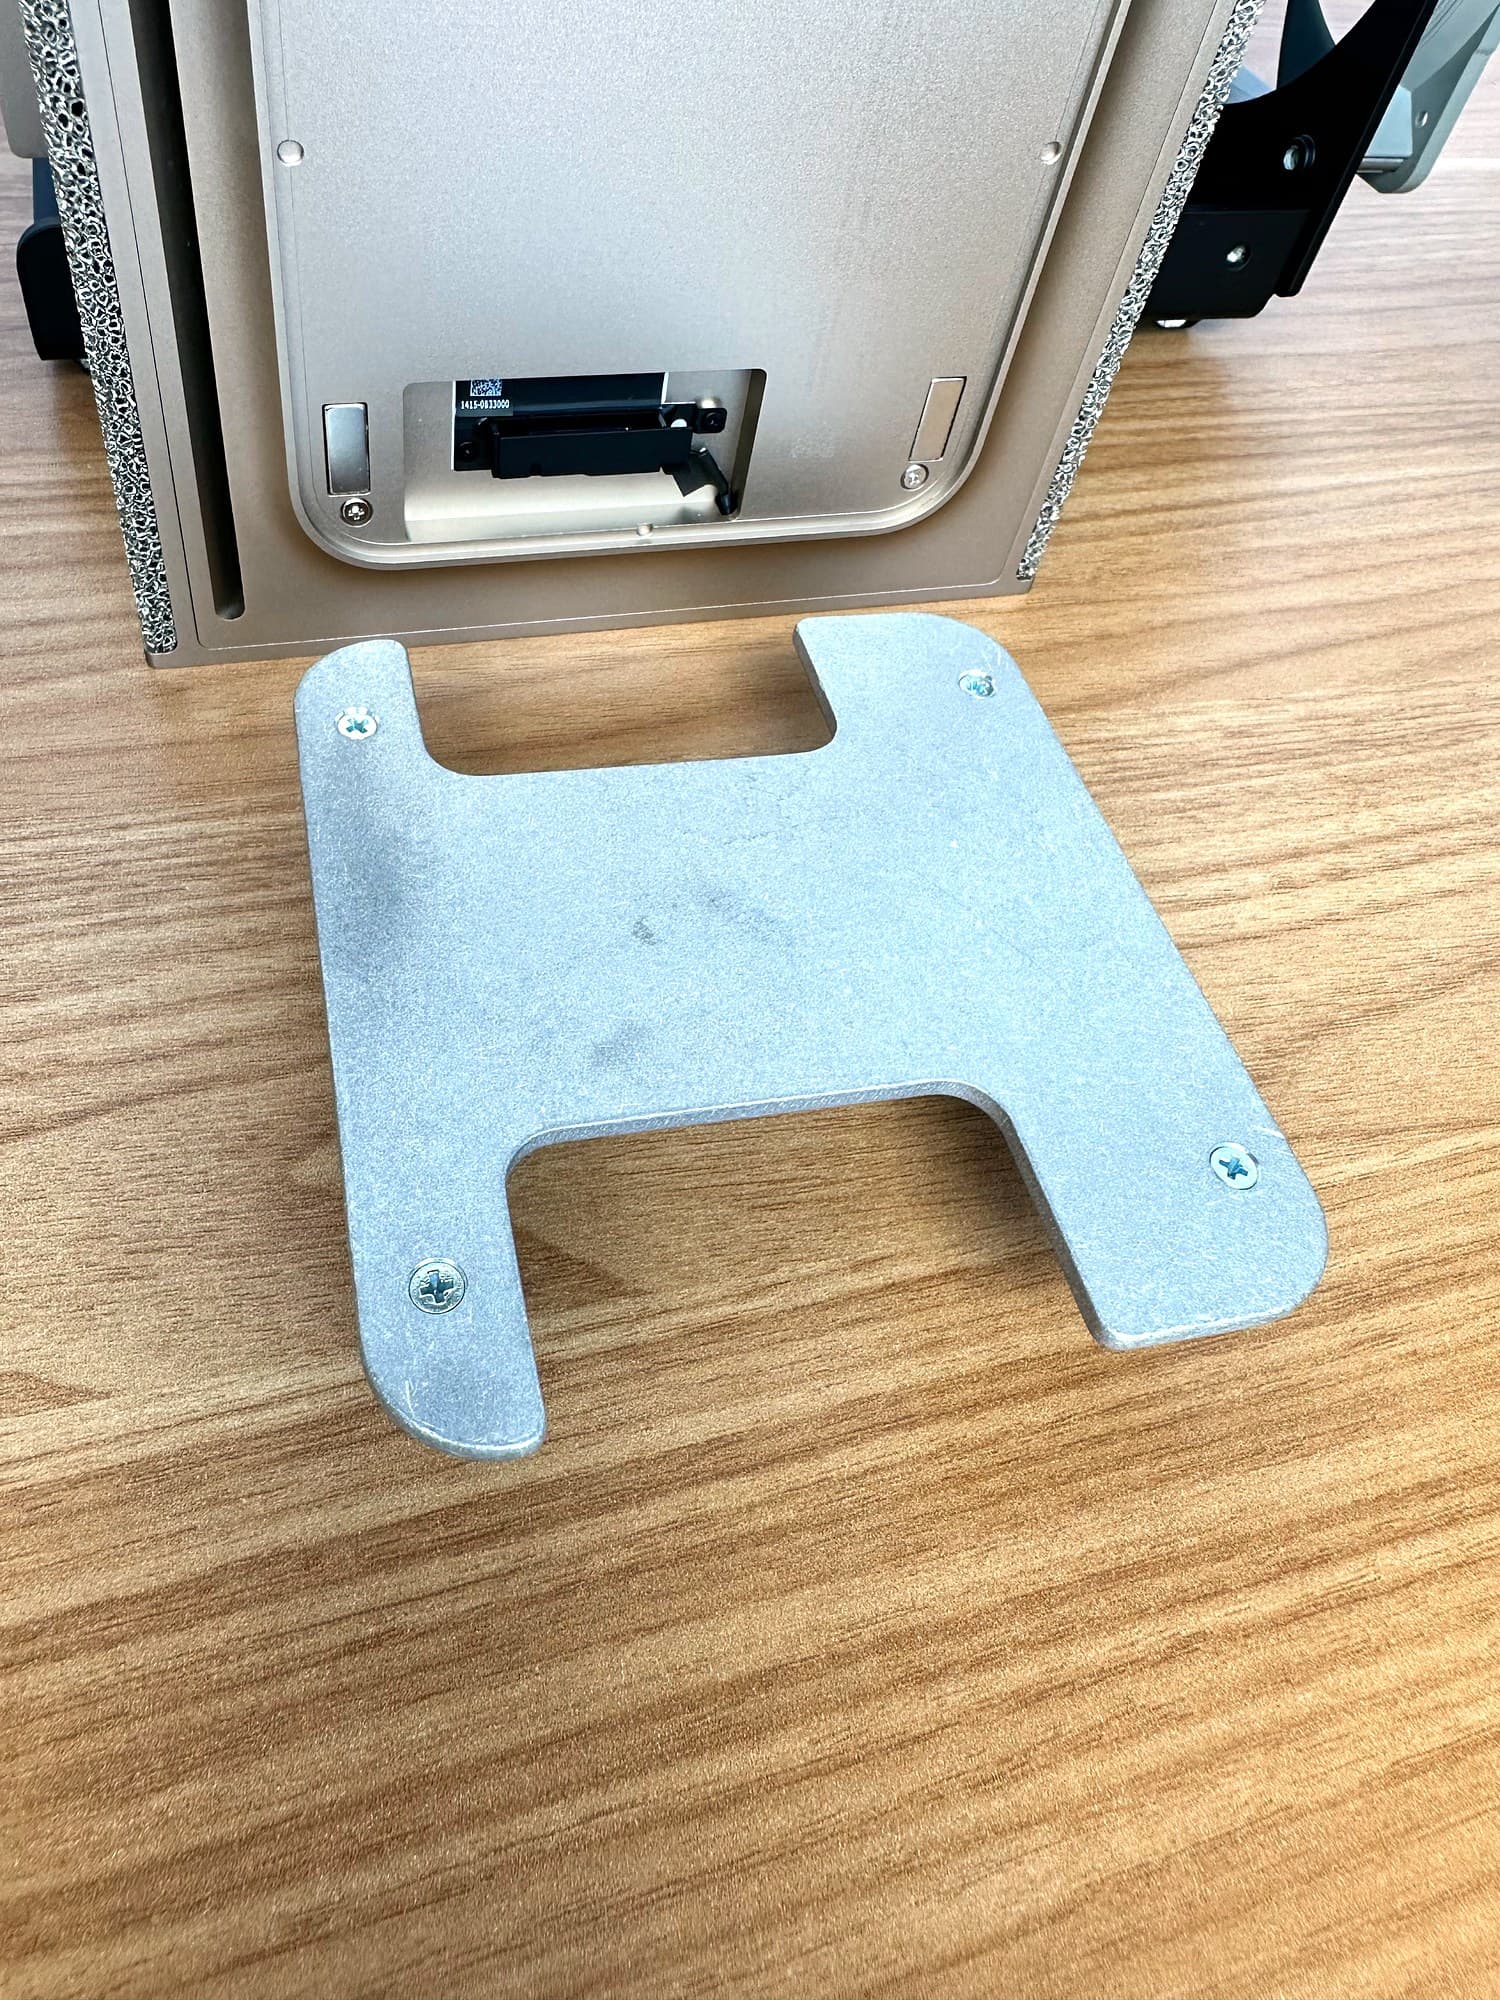
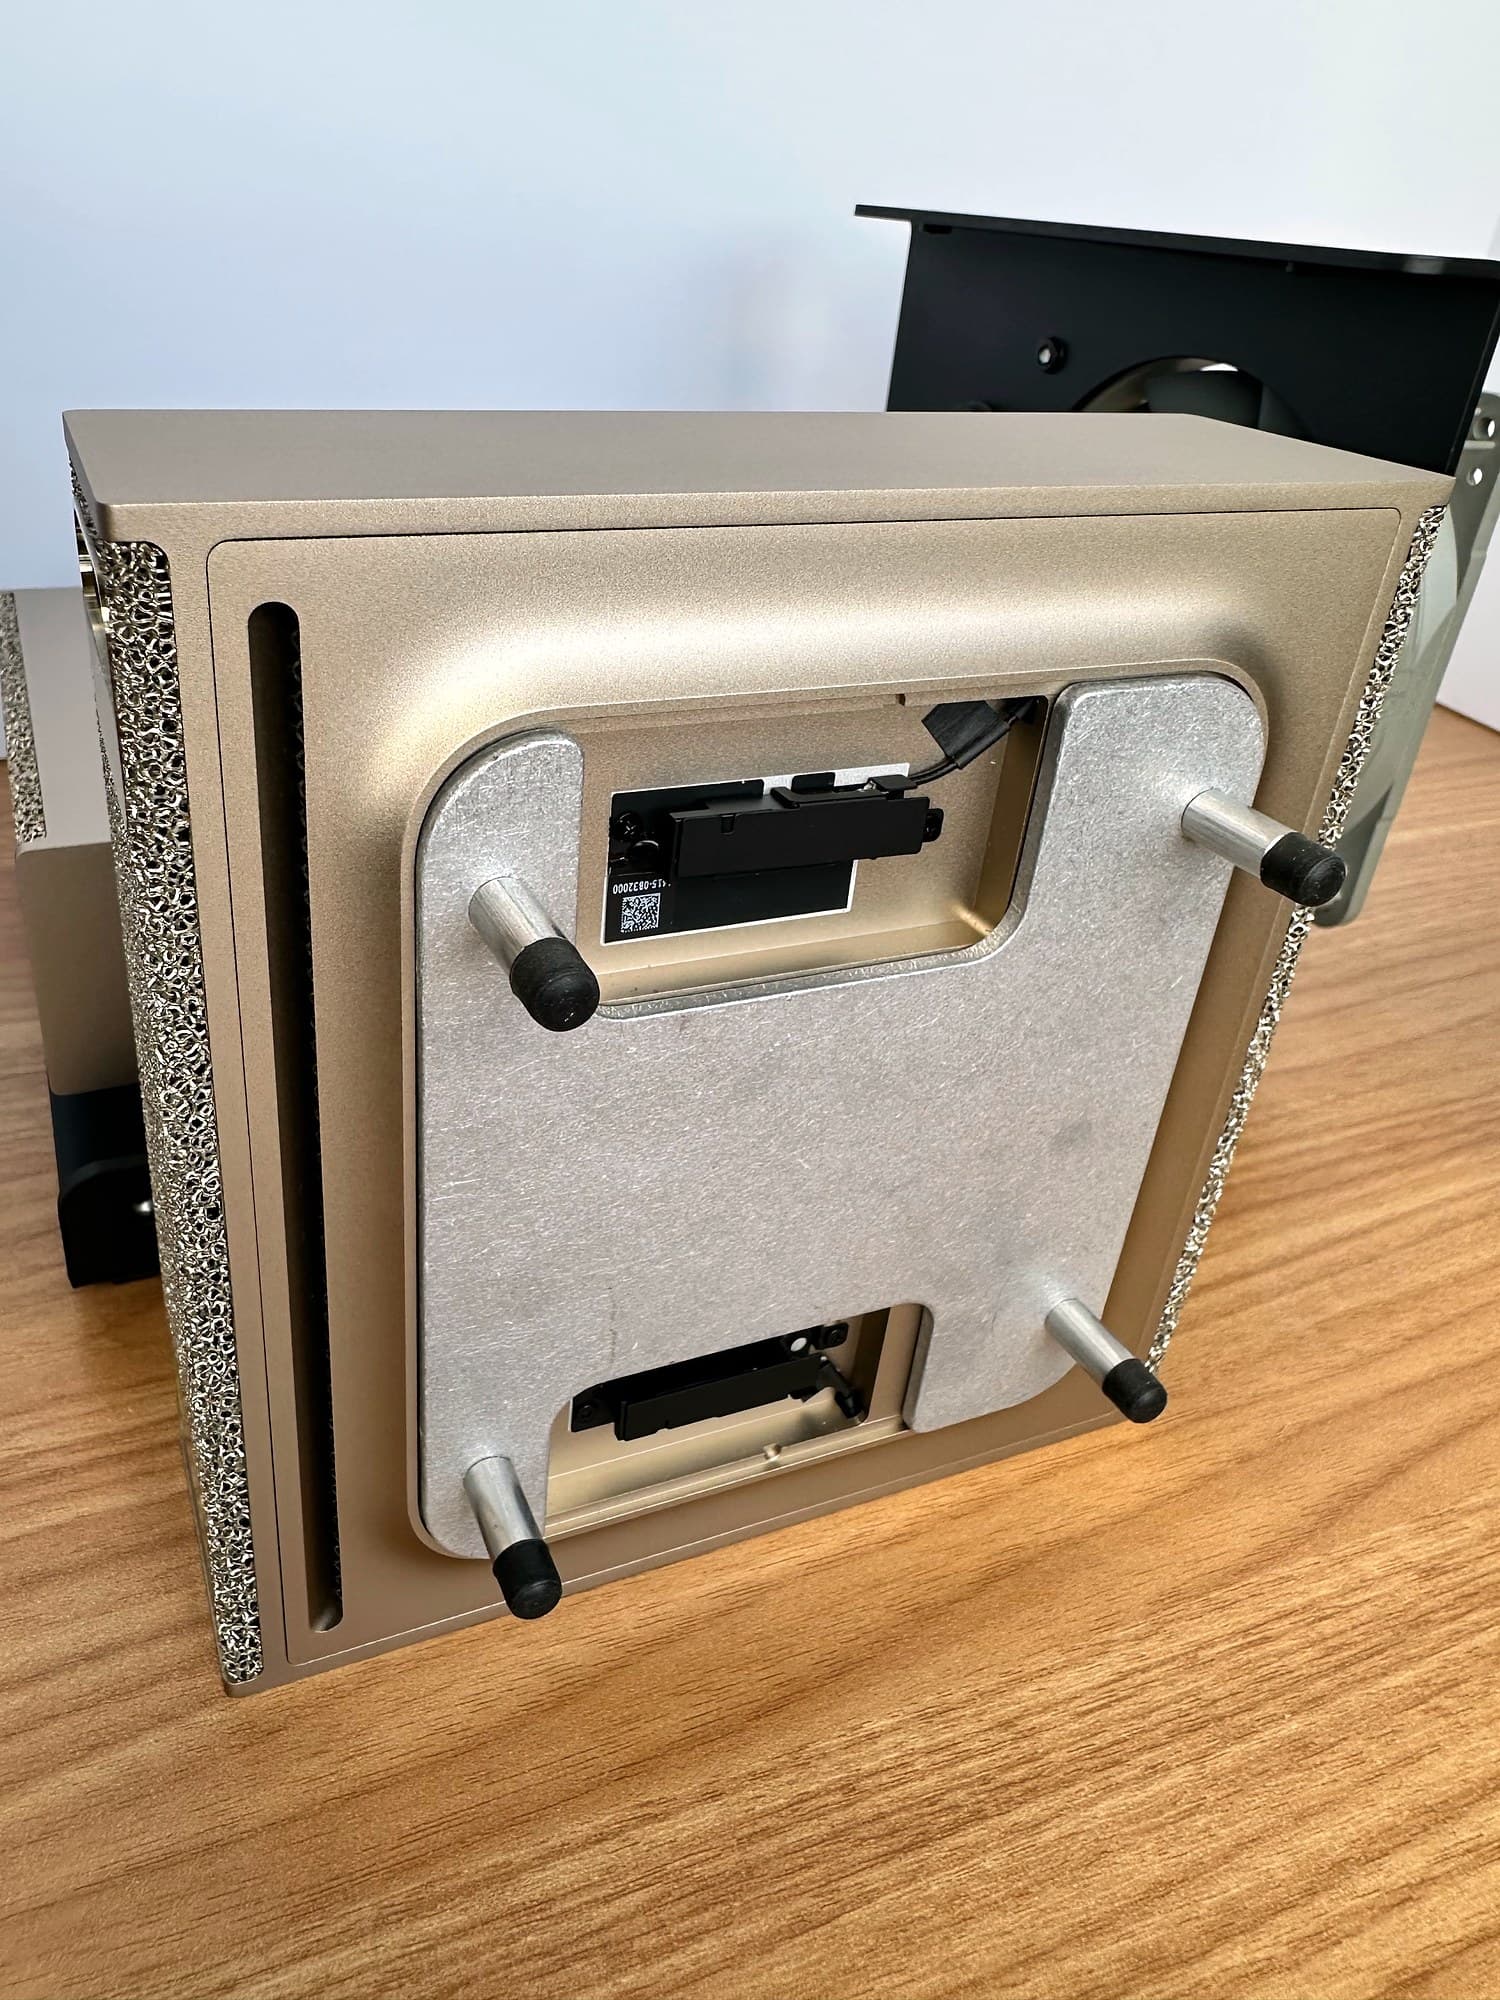
  3. Aluminum H-bracket with its screws showing, lying on a wood desk beside the underside of the top DGX Spark with its pad removed.
    Aluminum H-bracket spacer attached to the underside of the upper DGX Spark, with its four standoffs pointing up.

    3.Install the upper Spark's H-bracket spacerJust like the lower H-bracket, the flush zinc-coated steel flathead screws are precisely located to mate with the Spark's magnets, ensuring a positive fit.
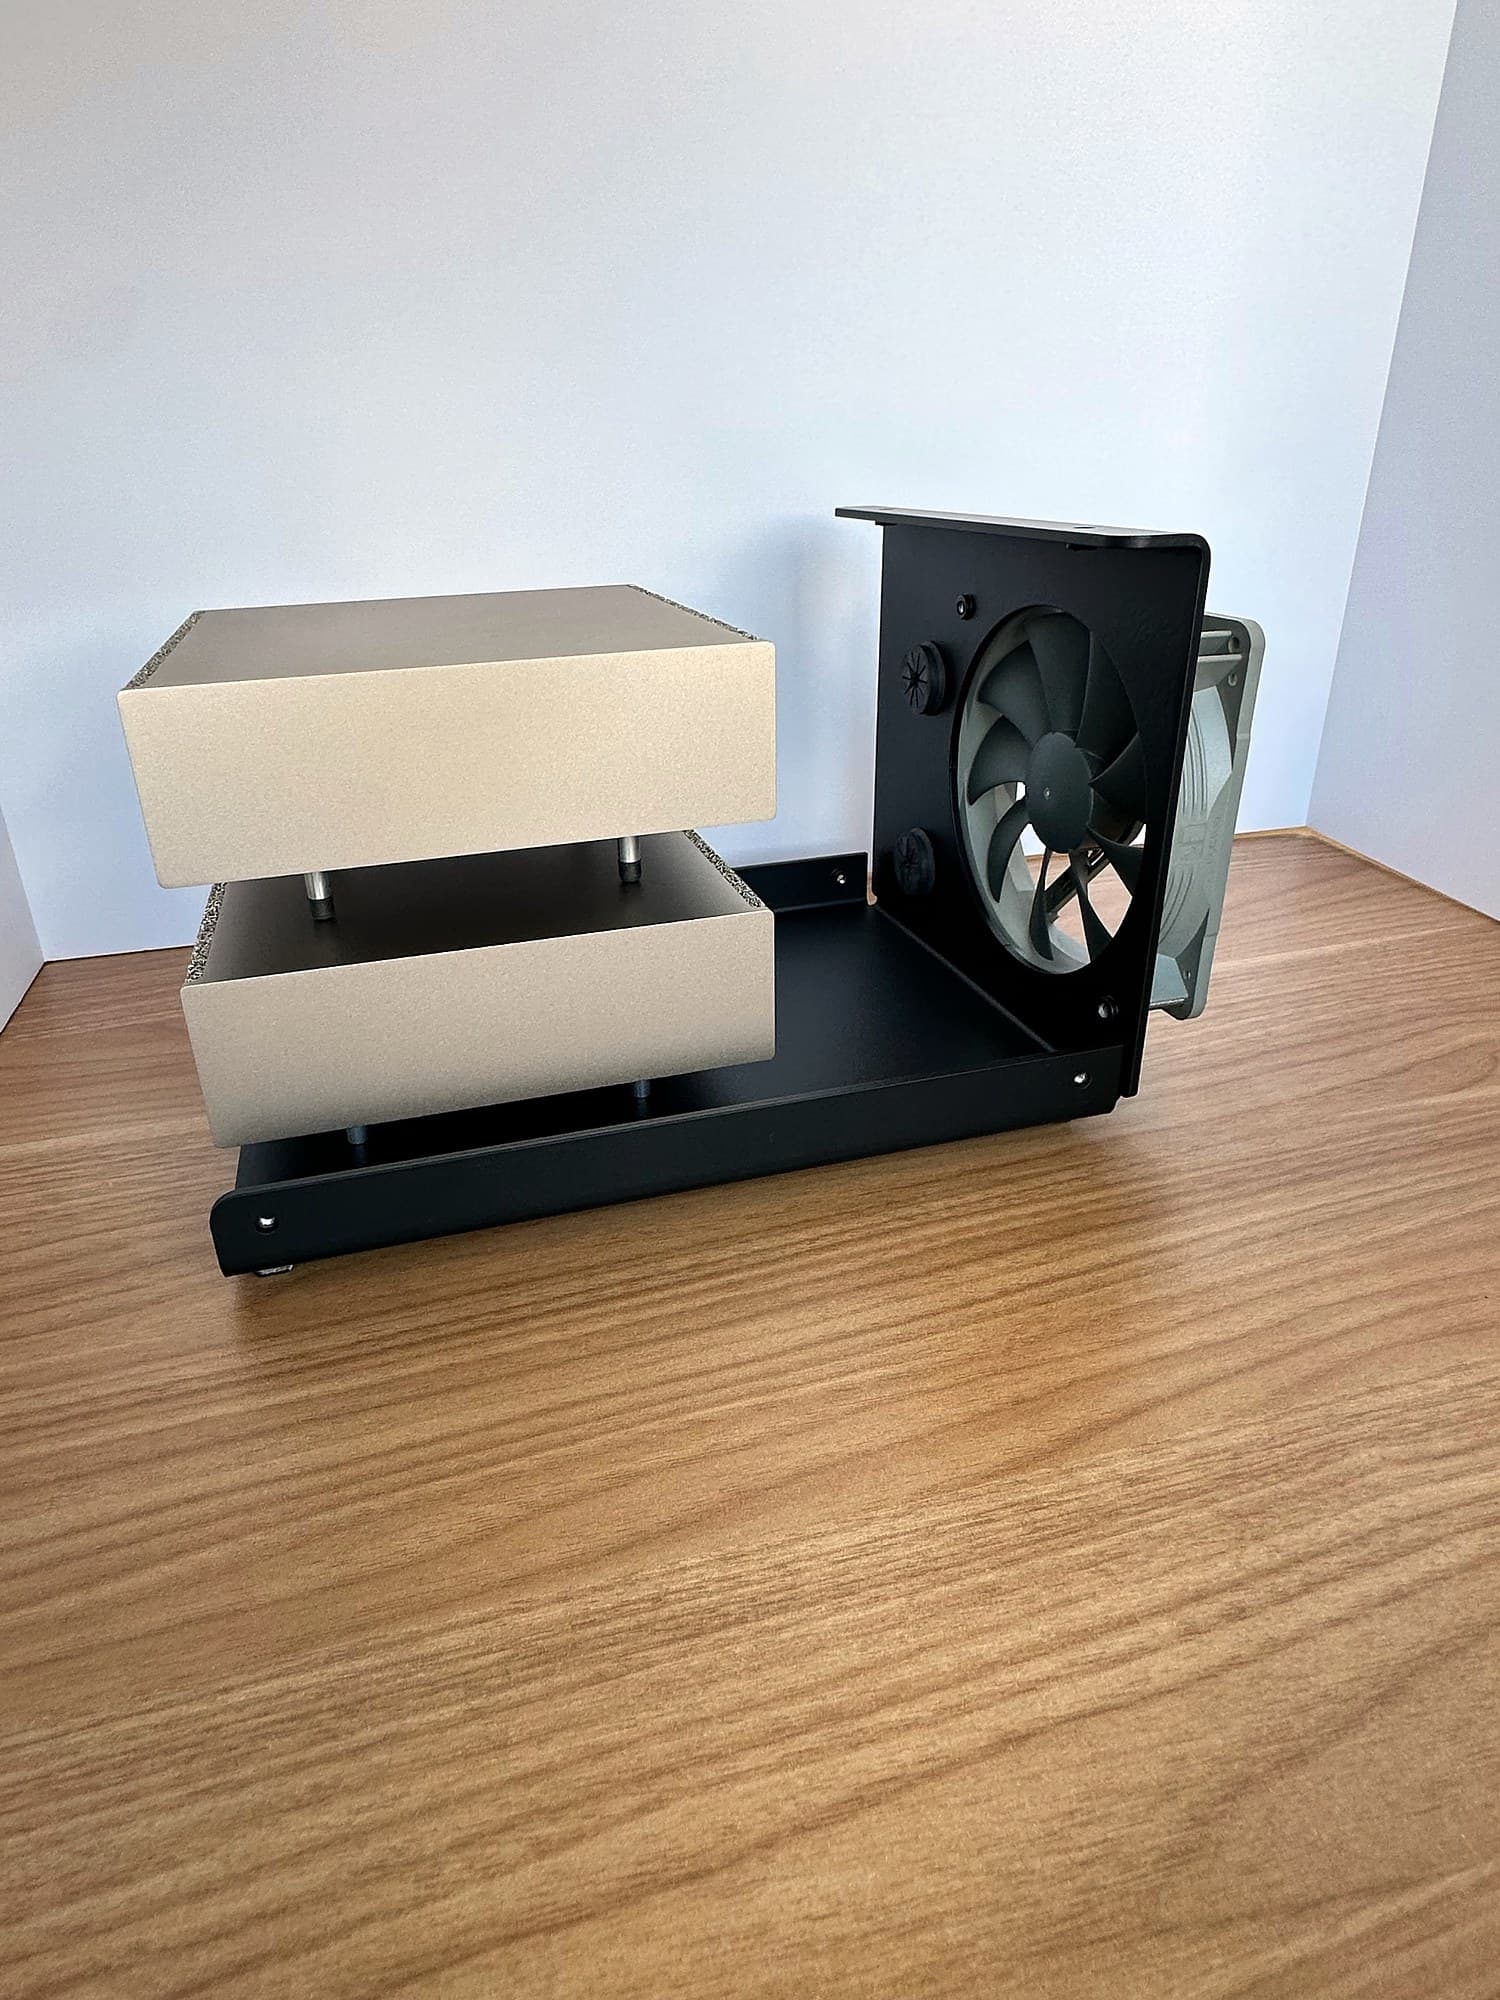
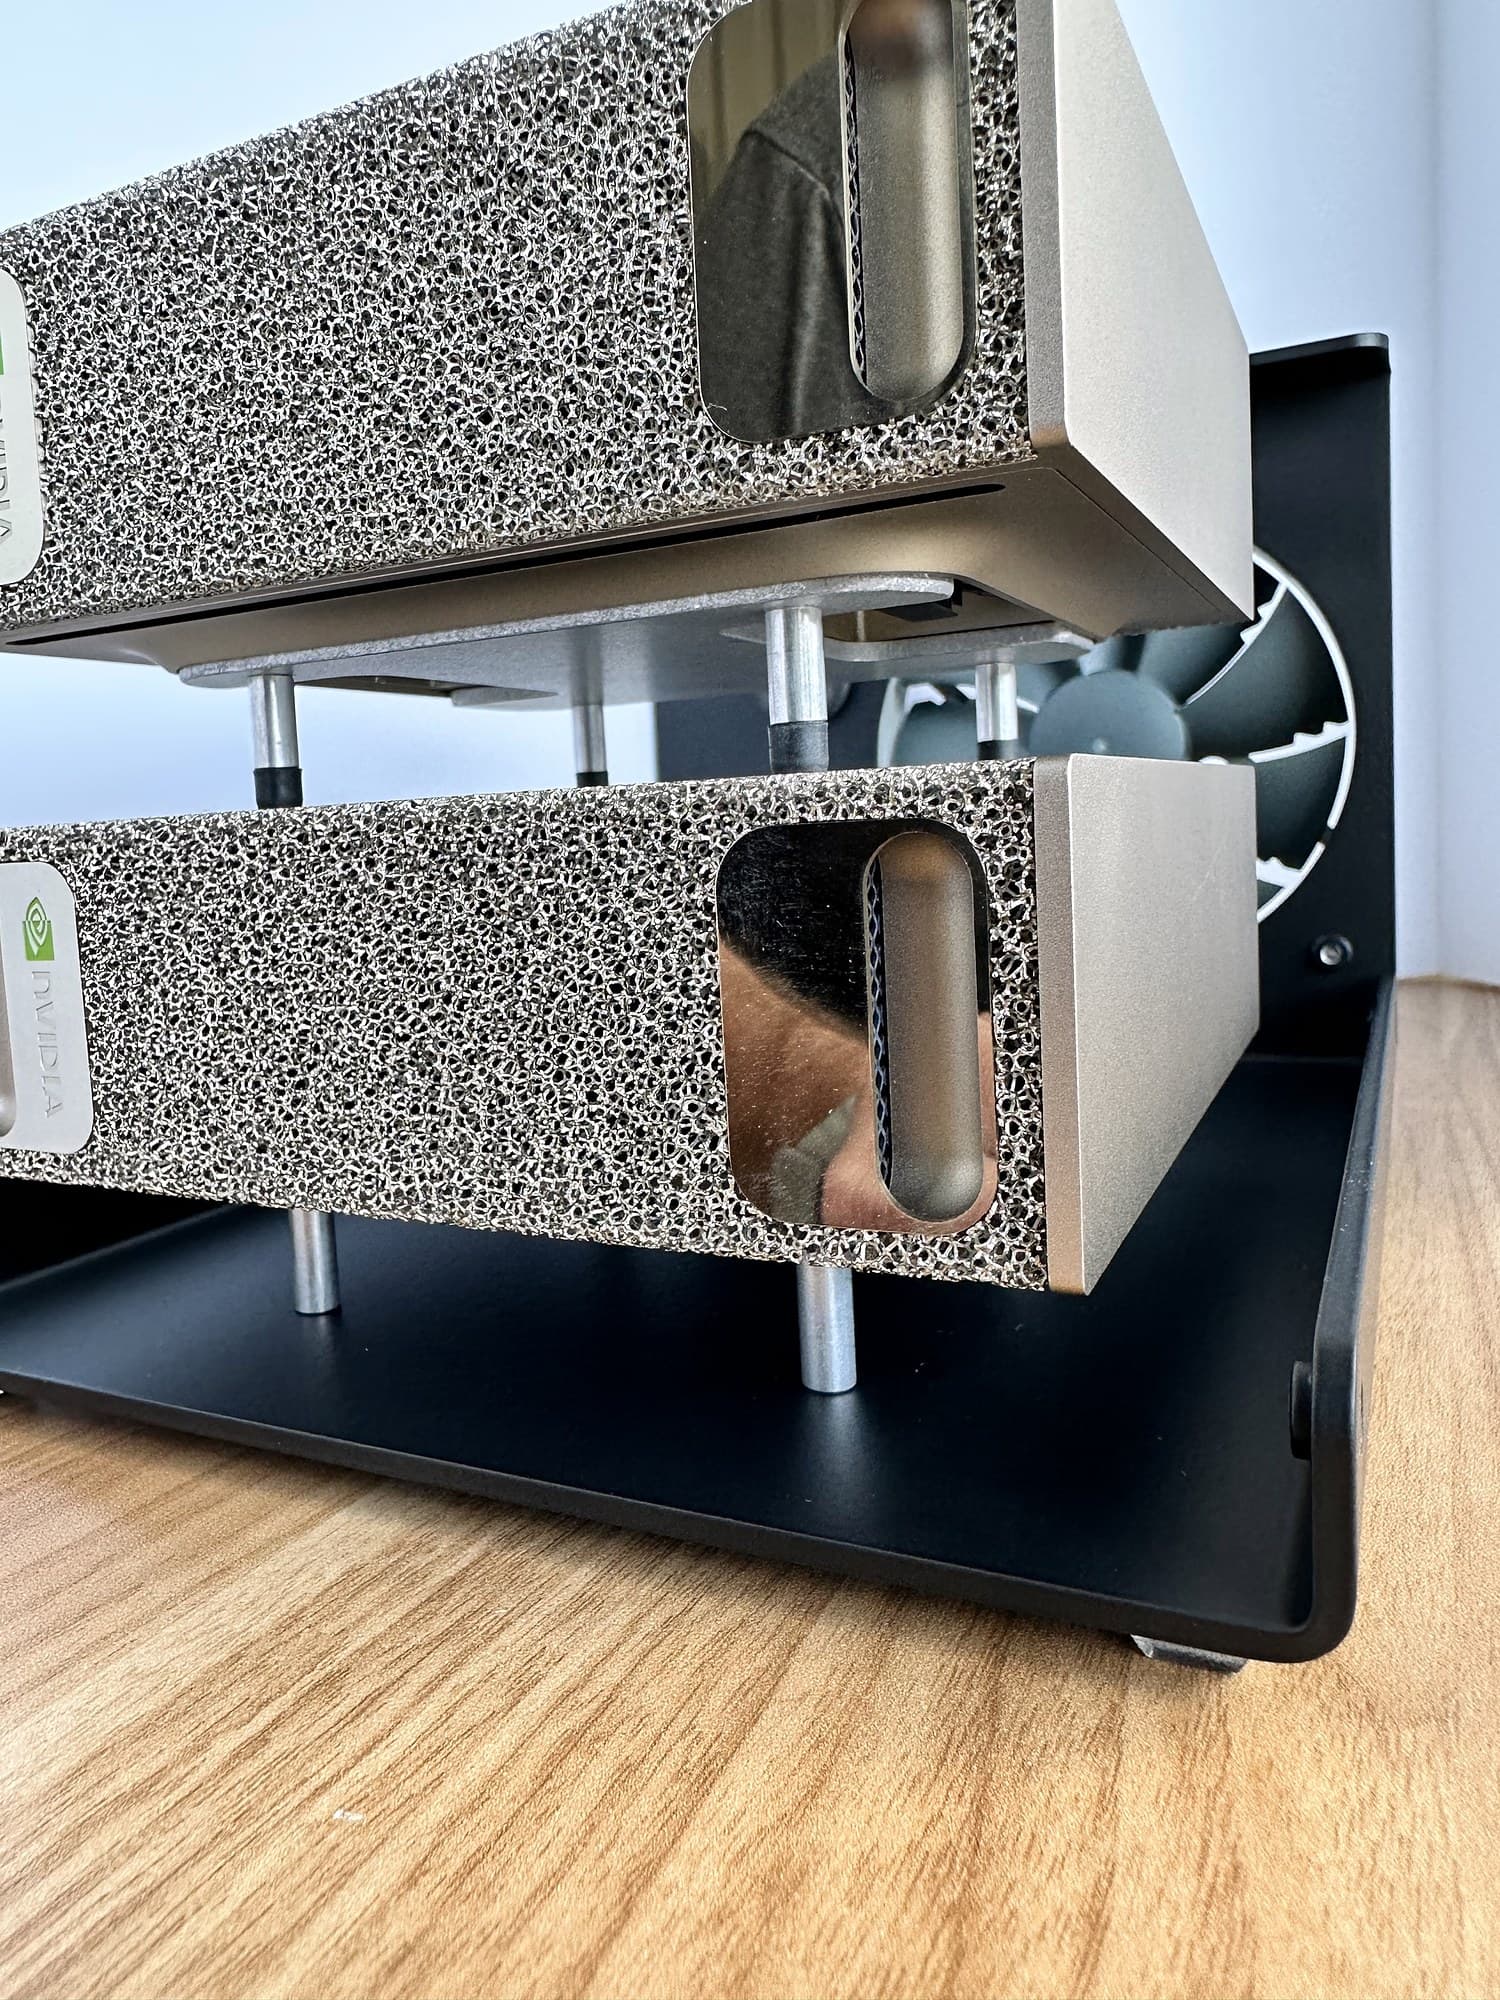
  4. Two NVIDIA DGX Spark units stacked on the Stackcooler TP2 black steel base with the clear cover removed, next to the rear fan wall.
    Close-up of two NVIDIA DGX Spark units stacked on the standoffs in the black Stackcooler base, with the rear fan behind, on a wood desk.

    4.Stack your Sparks

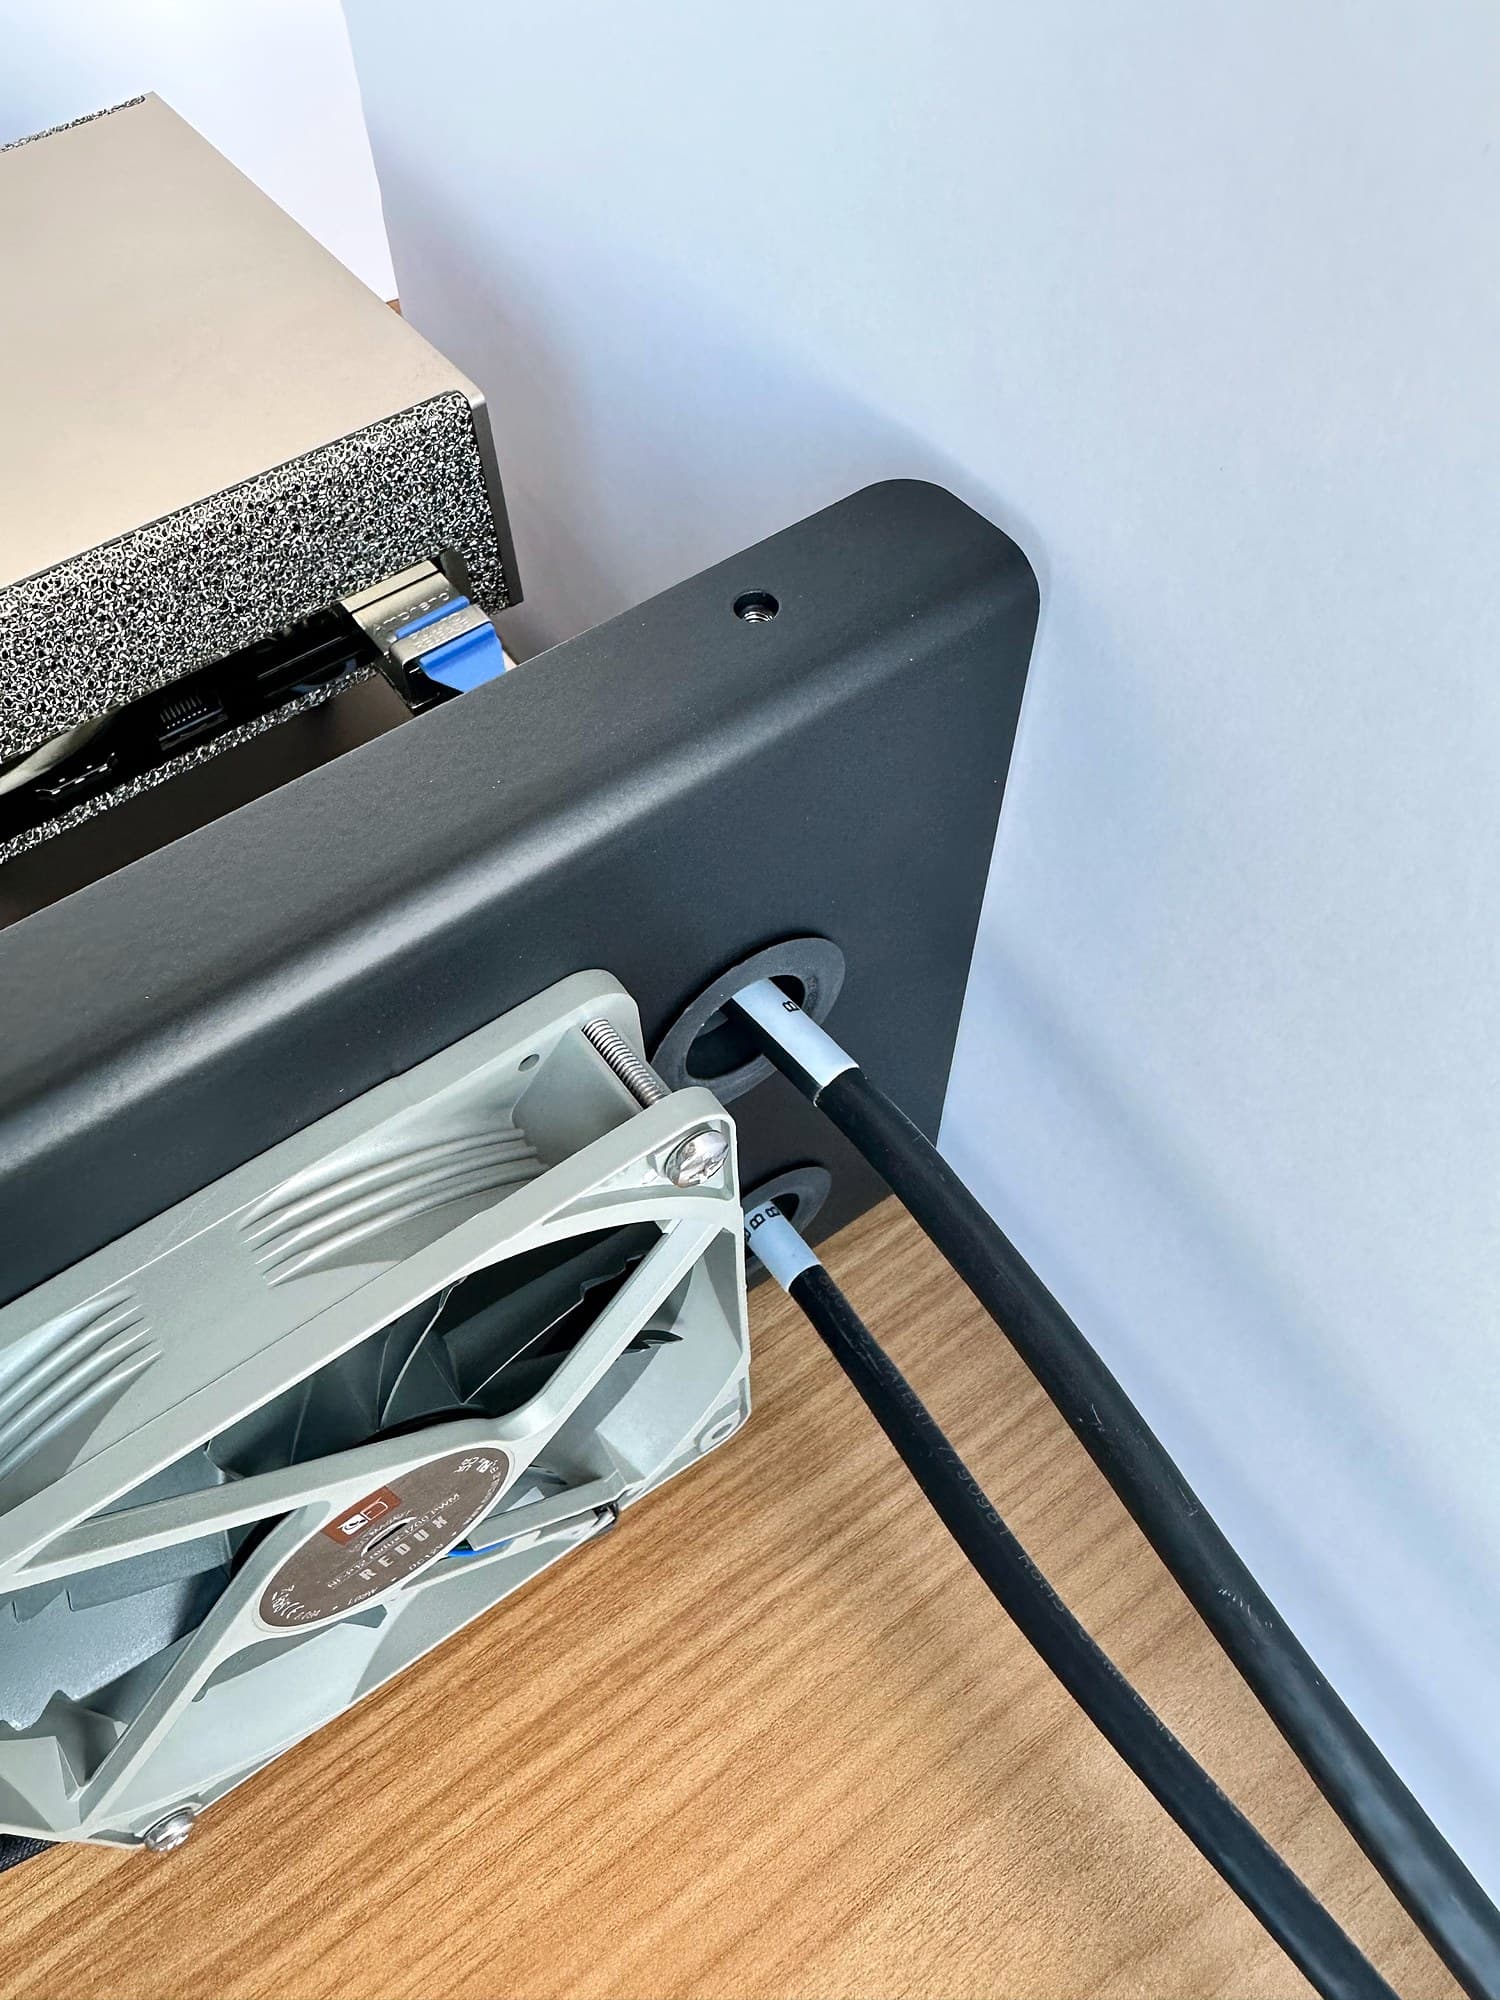
  5. Close-up of two black cables routed through the grommeted cable entry points beside the Stackcooler TP2 rear fan.
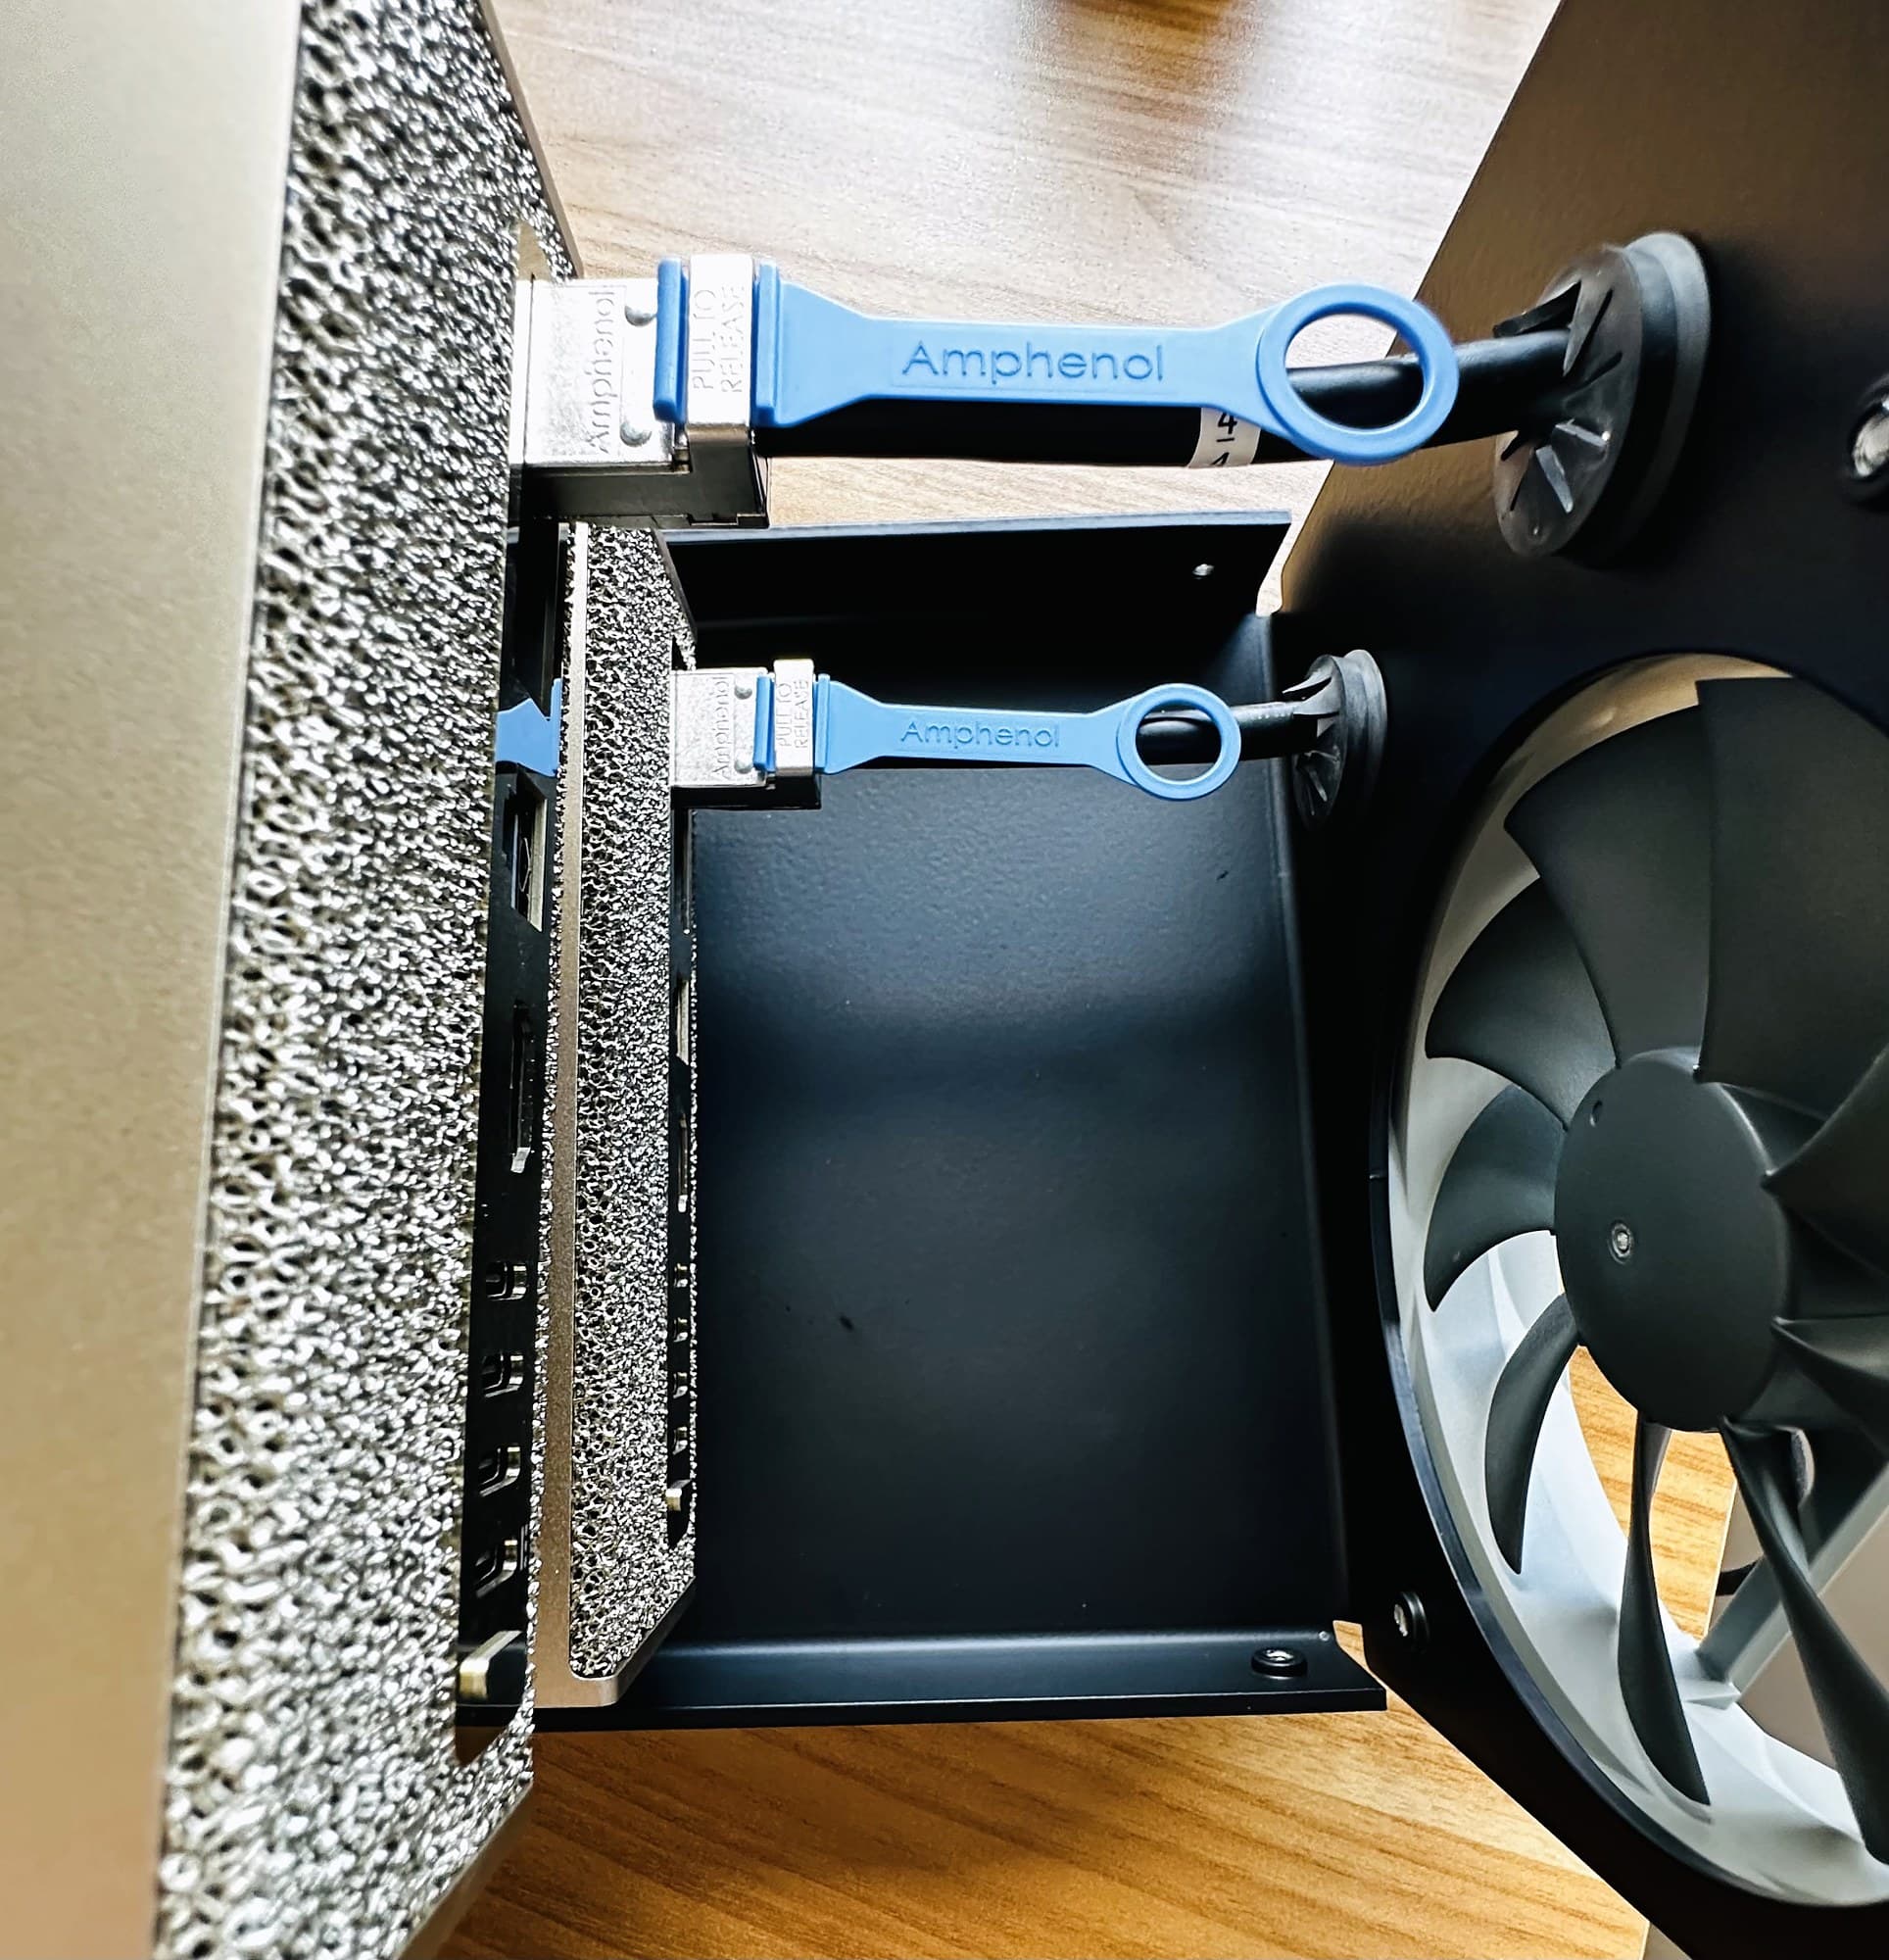
    Detail of blue-tabbed Amphenol cables connected inside the Stackcooler TP2 base, next to the fan, on a wood desk.
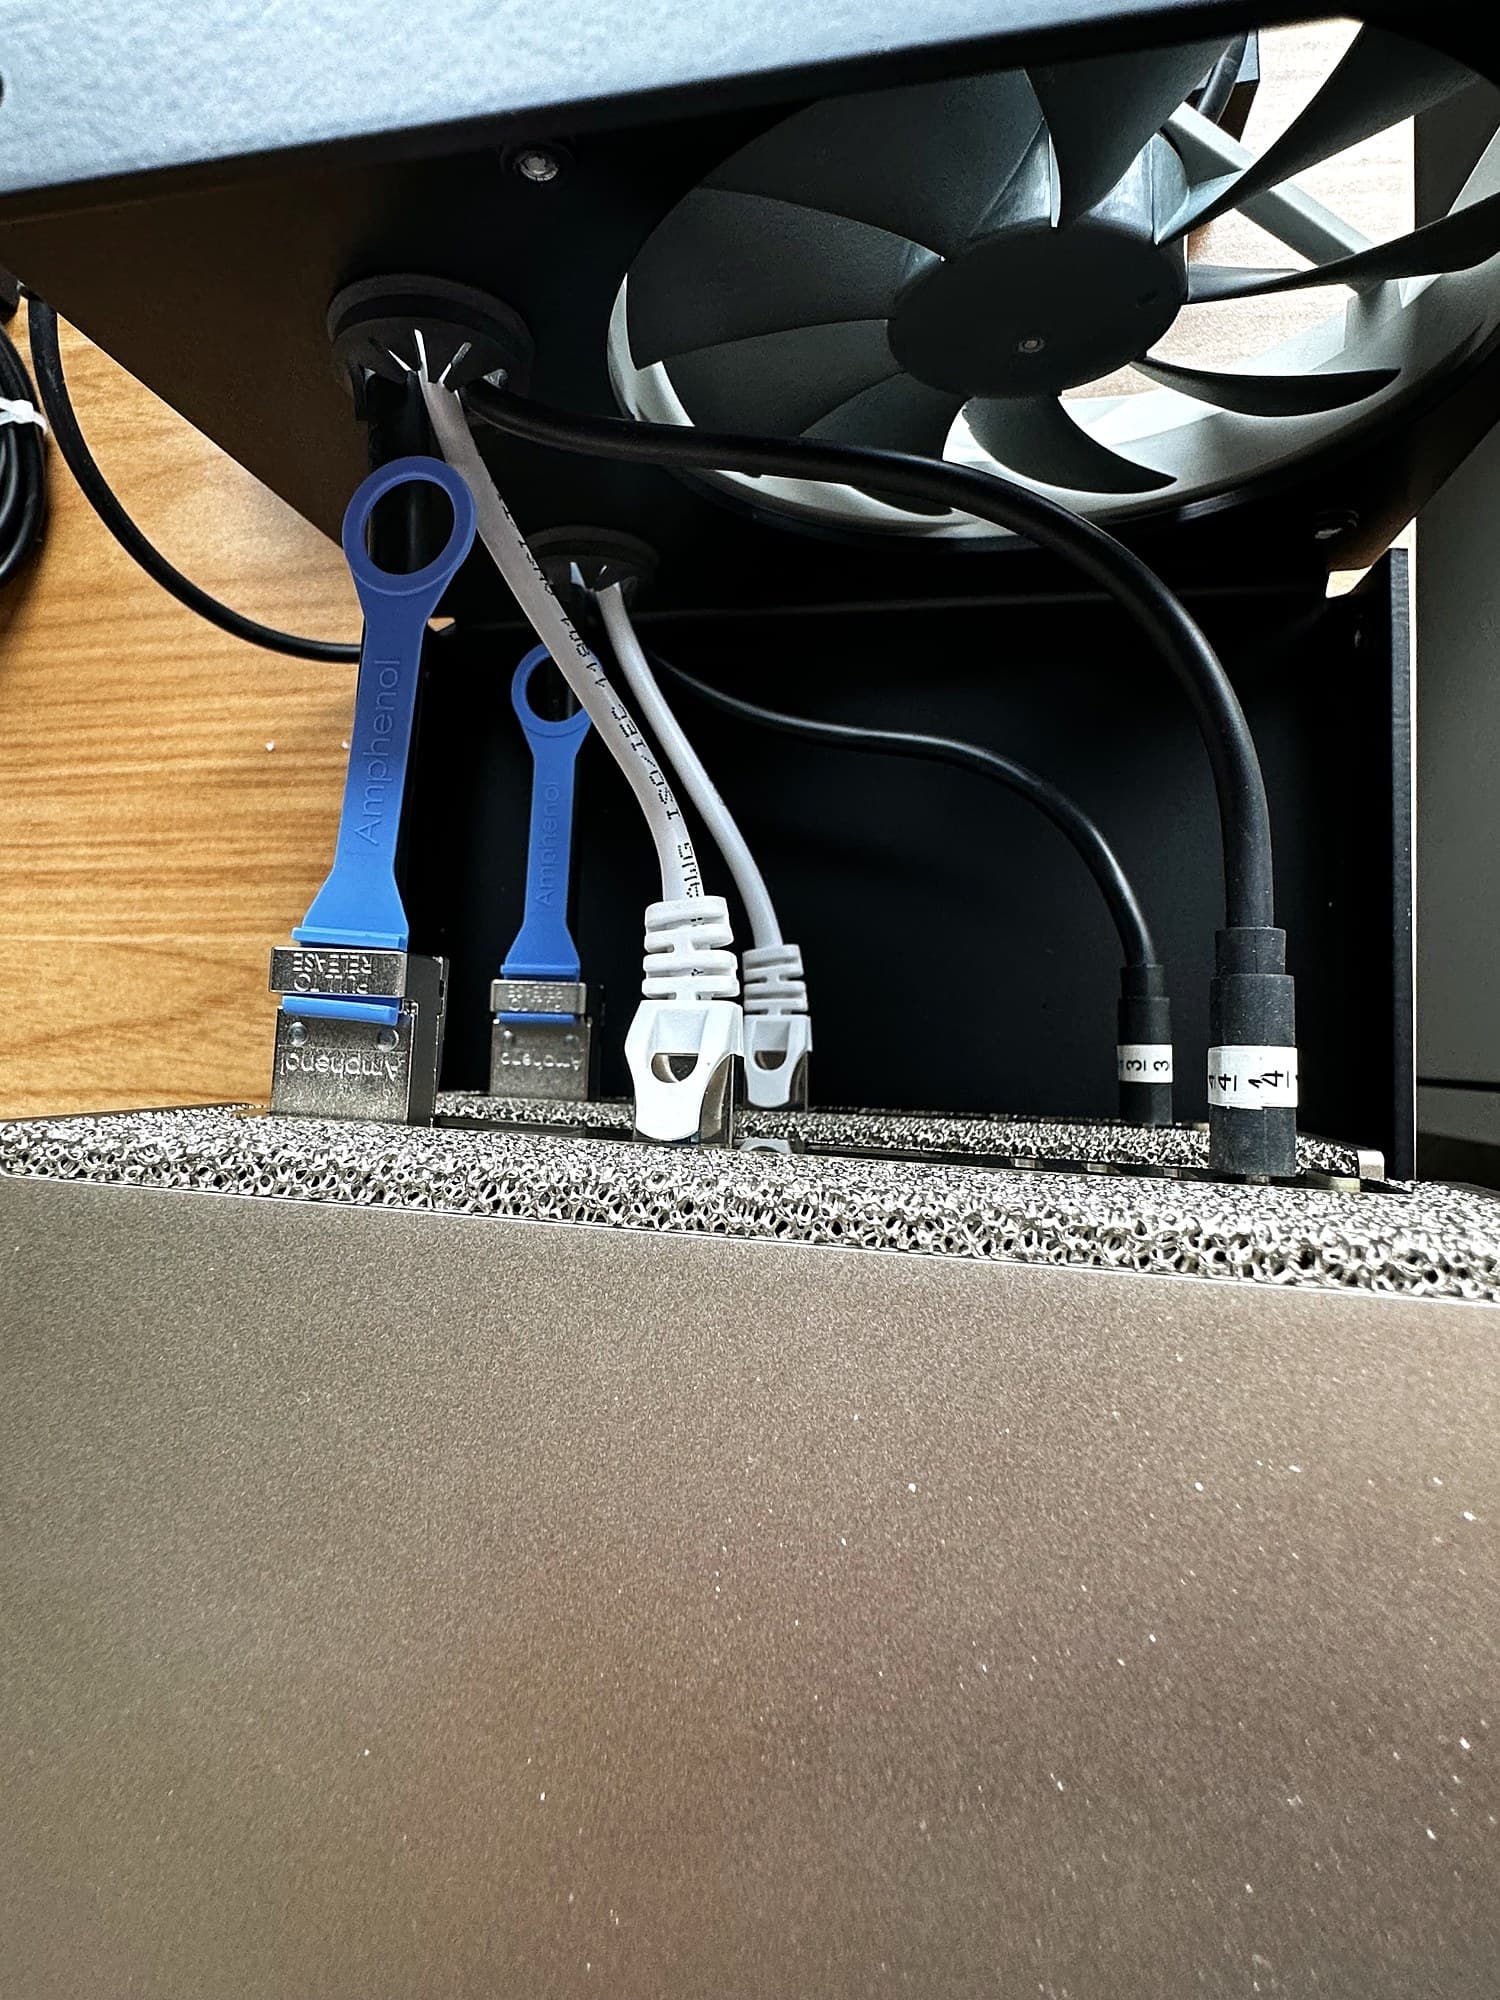
    Cables routed up through the grommets under the Stackcooler: blue Amphenol QSFP pull tabs, white Ethernet and black power cables, with the fan above and the Spark below.

    5.Route cables through the cable entry points
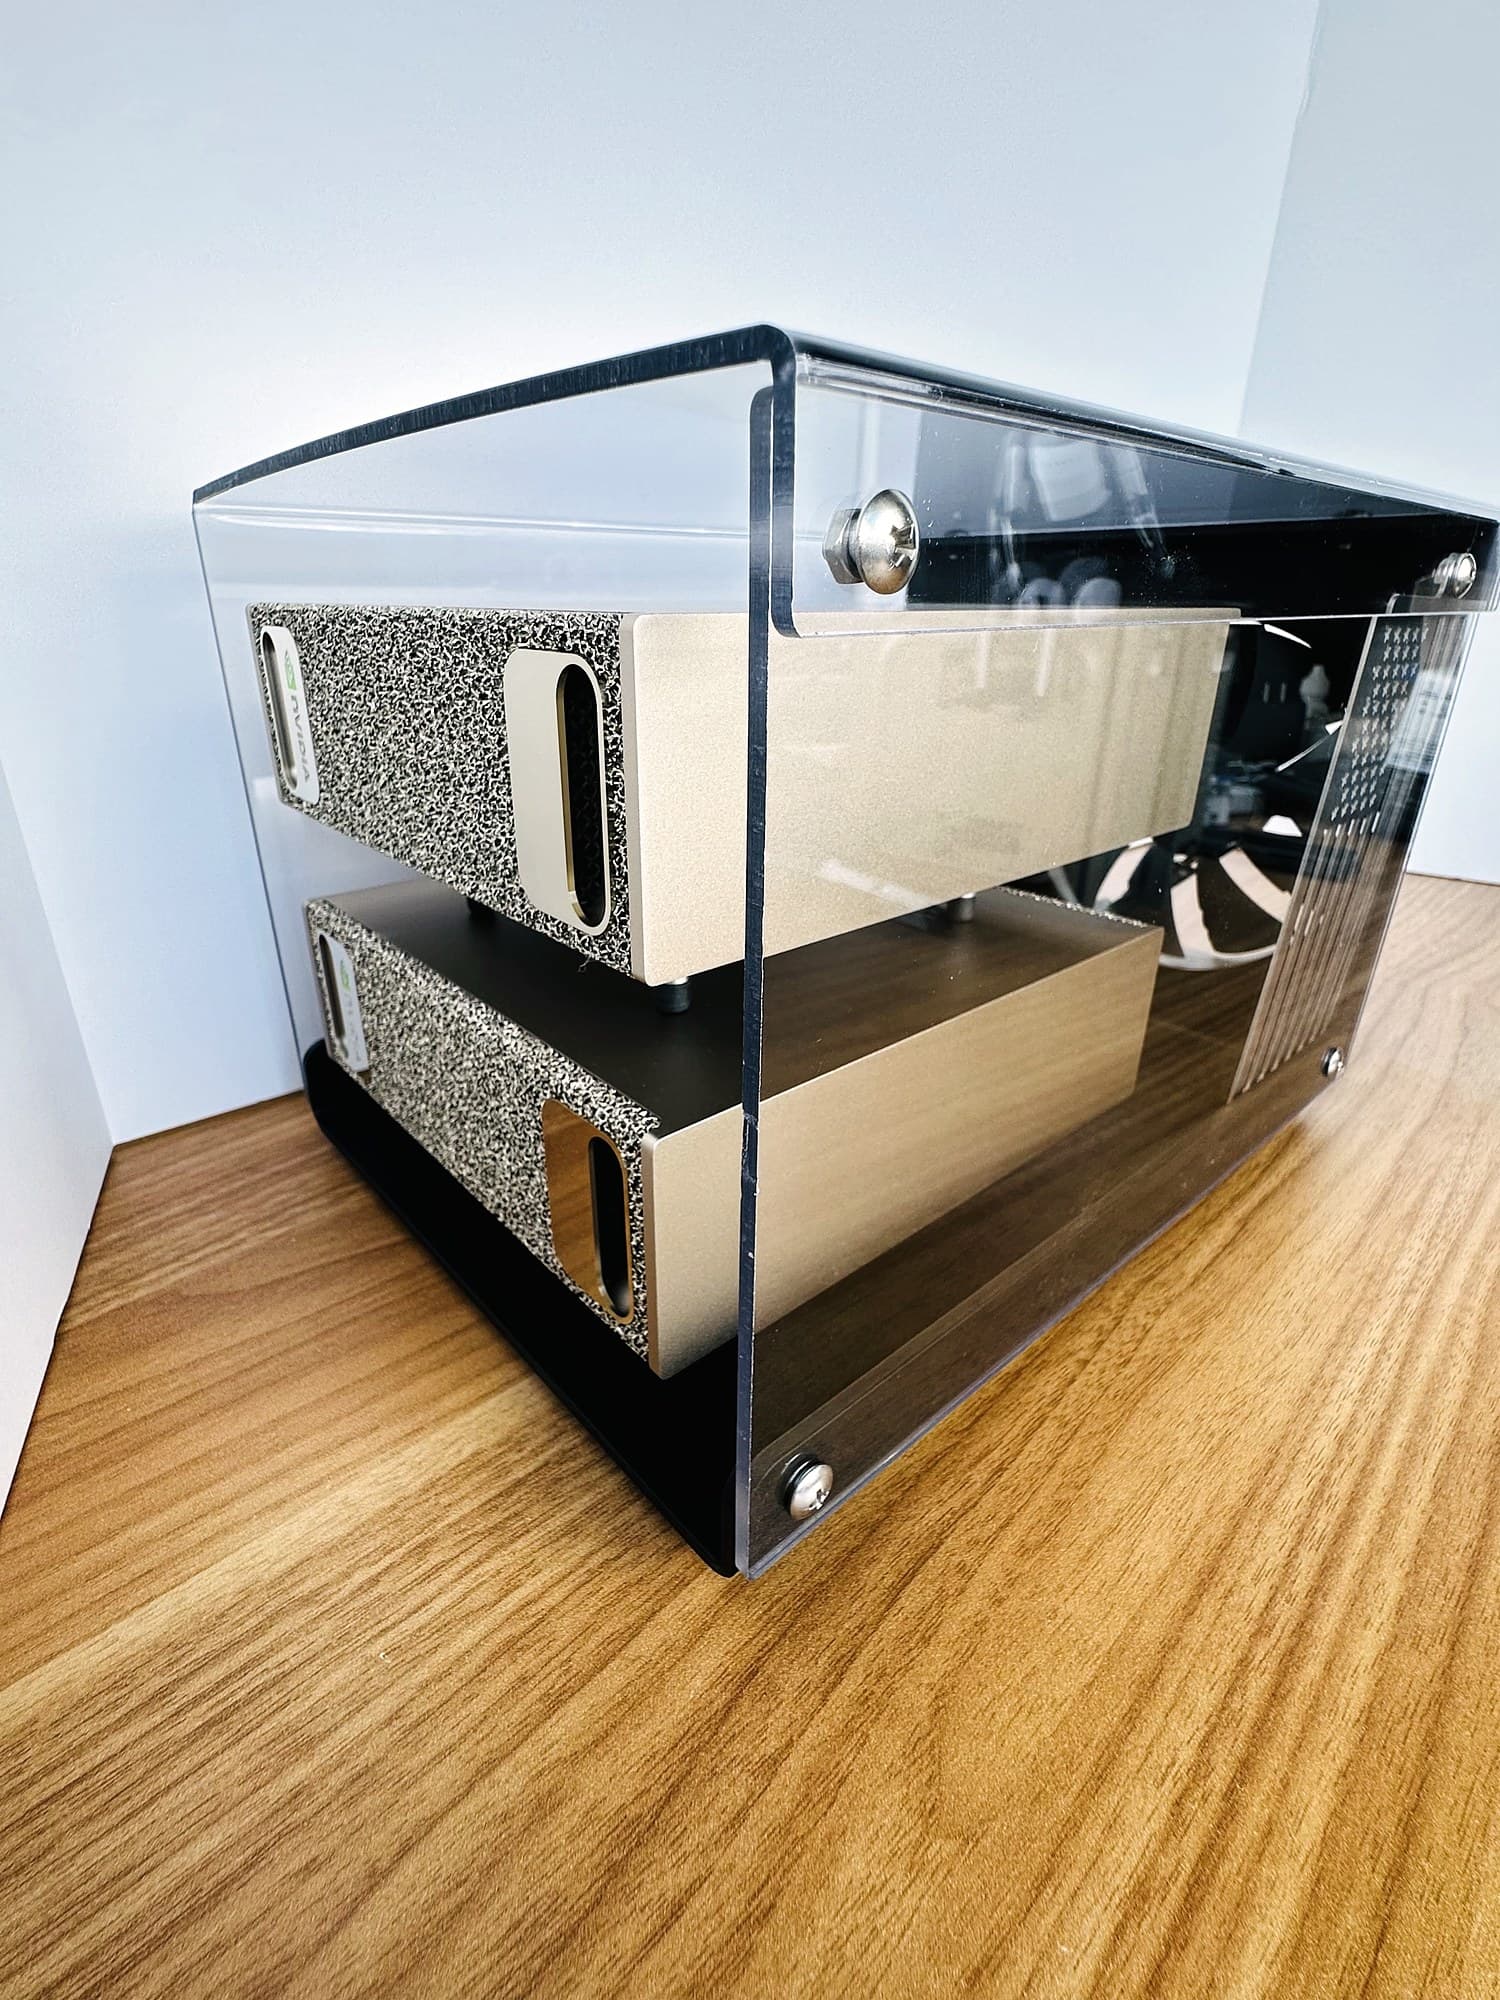
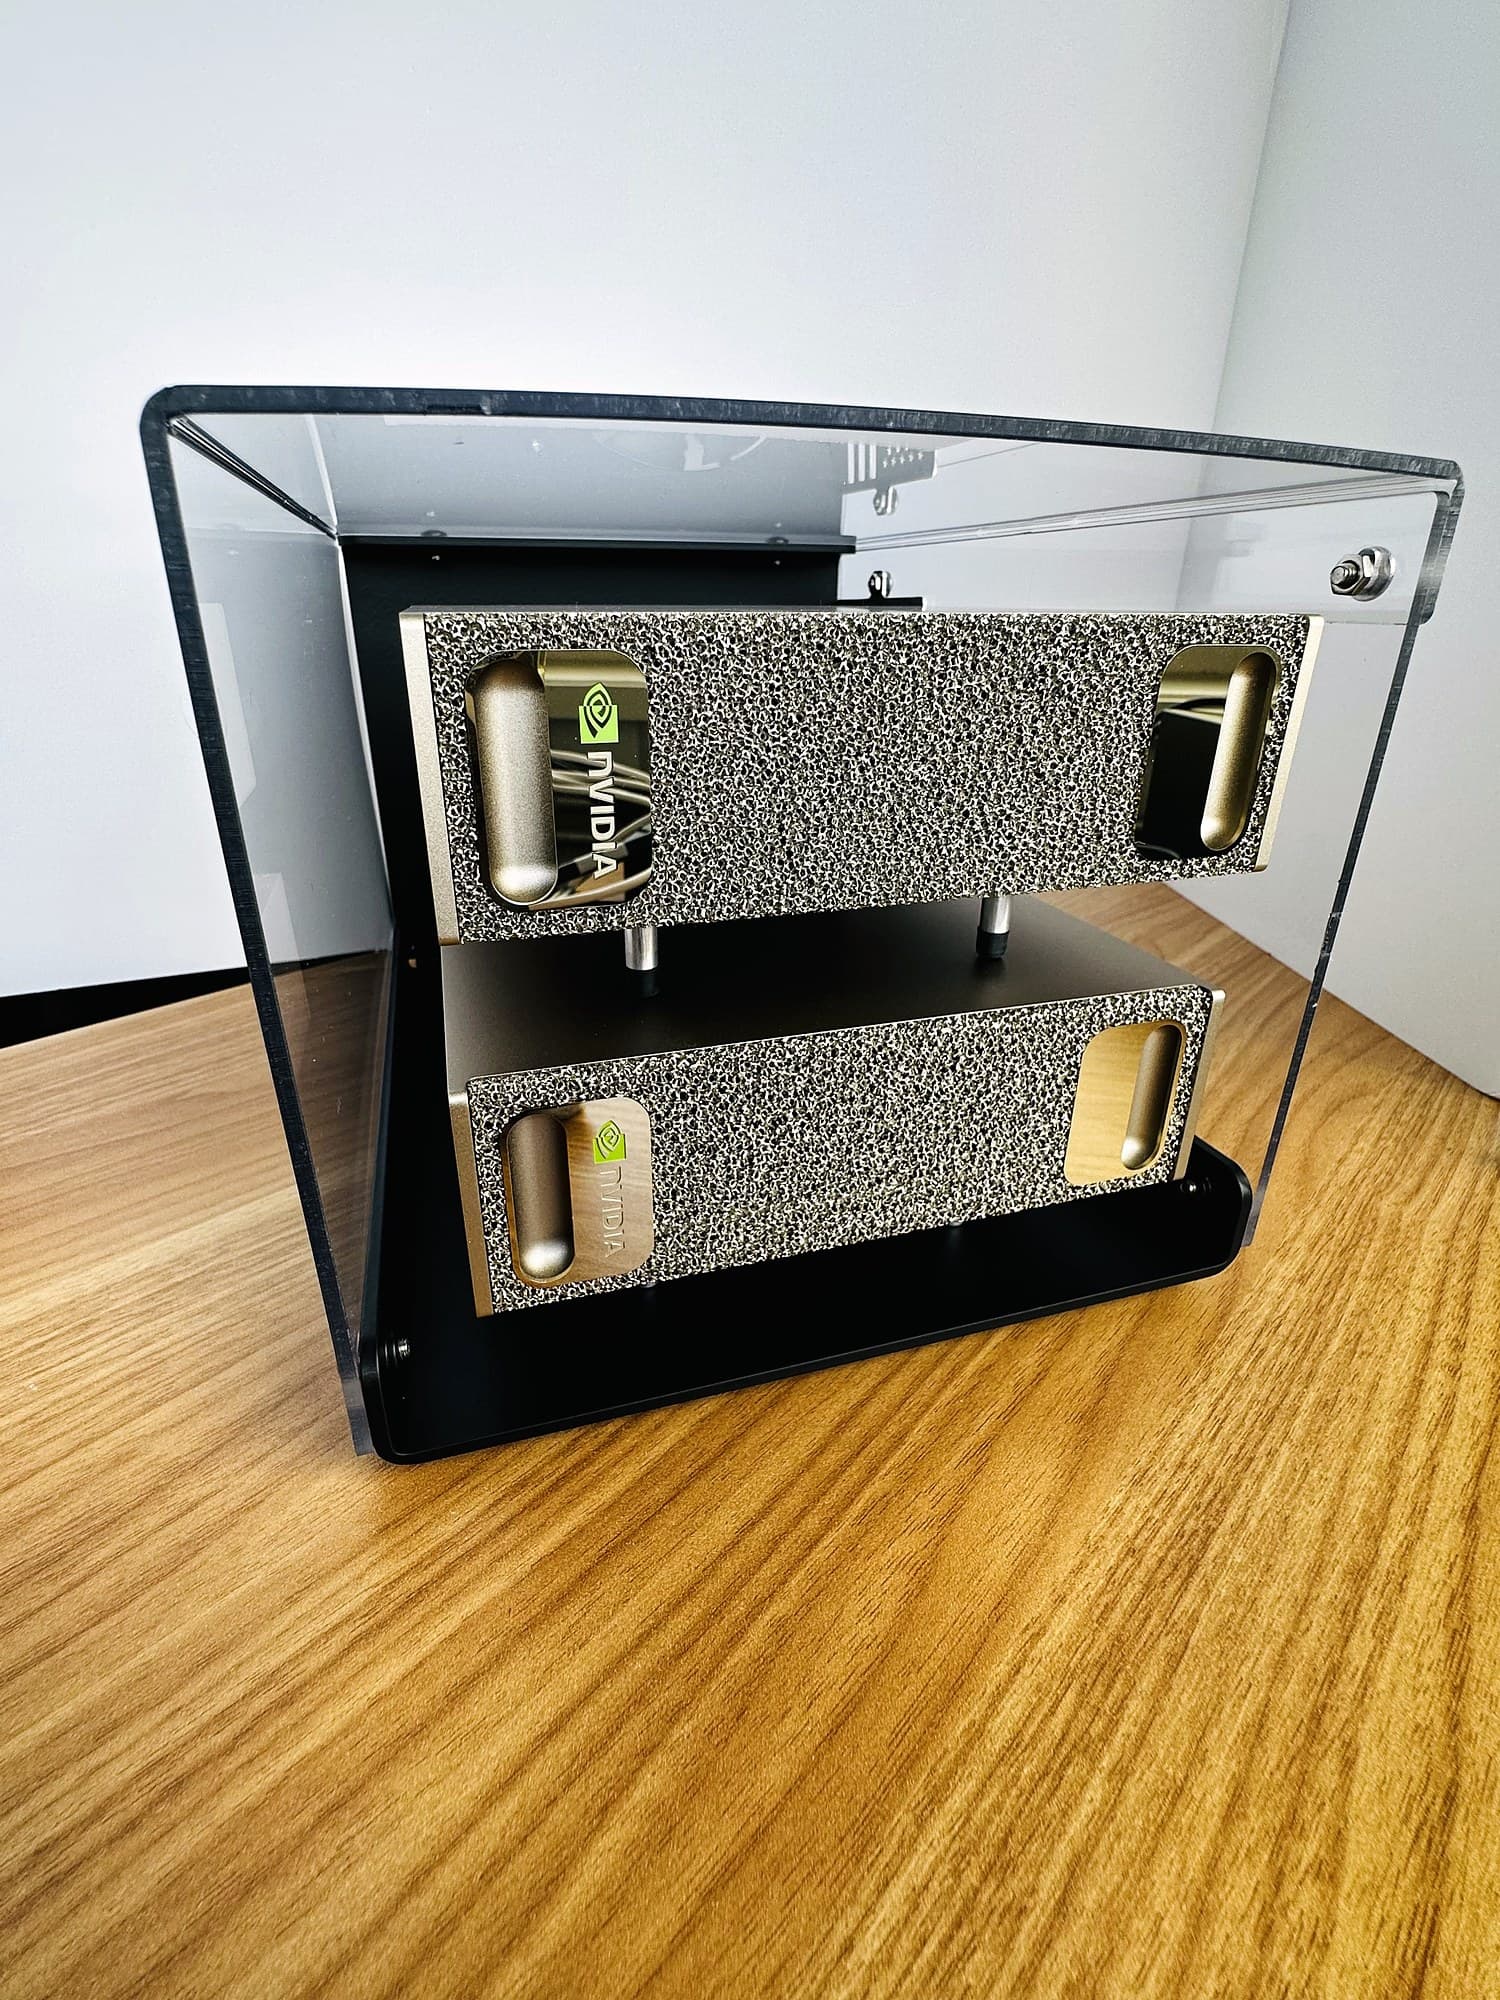
  6. Stackcooler TP2 with the bent clear acrylic cover installed, seen from a three-quarter side angle with two stacked DGX Sparks inside.
    Front view of the assembled Stackcooler TP2 showing both DGX Sparks and their NVIDIA logos through the clear cover.

    6.Install the coverAttach the cover with the included M4 stainless steel Phillips truss head screws. There are no tiny nuts to fumble with because we used permanently installed press nuts. Nice!